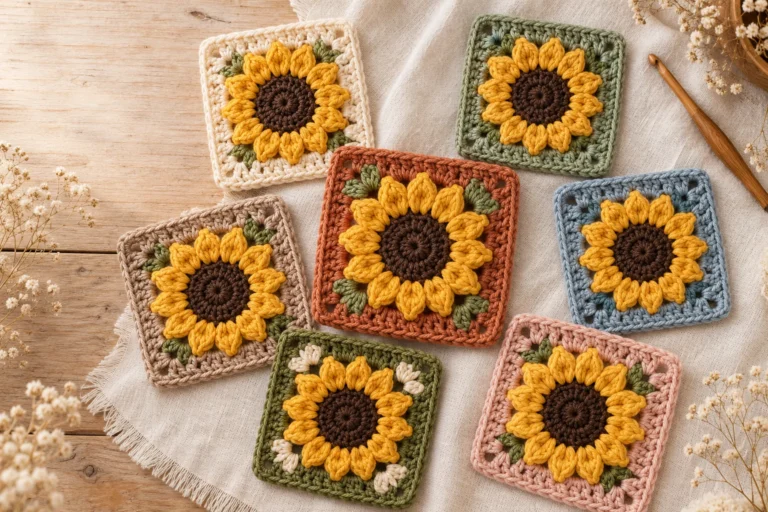
How to Crochet a Sunflower Granny Square: Written Guide and Video Tutorial
CROCHET GUIDE • US TERMINOLOGY
A beginner-friendly construction guide with visual stages, troubleshooting tips, color ideas and practical project inspiration.
A crochet sunflower granny square brings together everything people love about floral crochet: a textured center, bright petals, natural color changes and the satisfying moment when a round flower begins to take the shape of a square.
In this written guide, you will see how the motif develops from the flower center to the petals, green shaping rounds and finished outer border. We will also cover helpful preparation tips, color ideas, common problems and creative ways to use your completed squares.
The supporting video tutorial is included as an additional visual resource. The written guide will help you understand the construction and purpose of each stage, while the video can make hand movements and stitch placement easier to follow.
Sunflower Granny Square at a Glance
| Skill level | Adventurous beginner to intermediate |
|---|---|
| Construction | Worked from the center outward in joined rounds |
| Terminology | US crochet terms |
| Main techniques | Working in the round, changing colors, textured petals and shaping a circular motif into a square |
| Best for | Tote bags, blankets, cushions, cardigans and decorative crochet projects |
| Color changes | Brown center, golden petals, green shaping section and a light outer border |
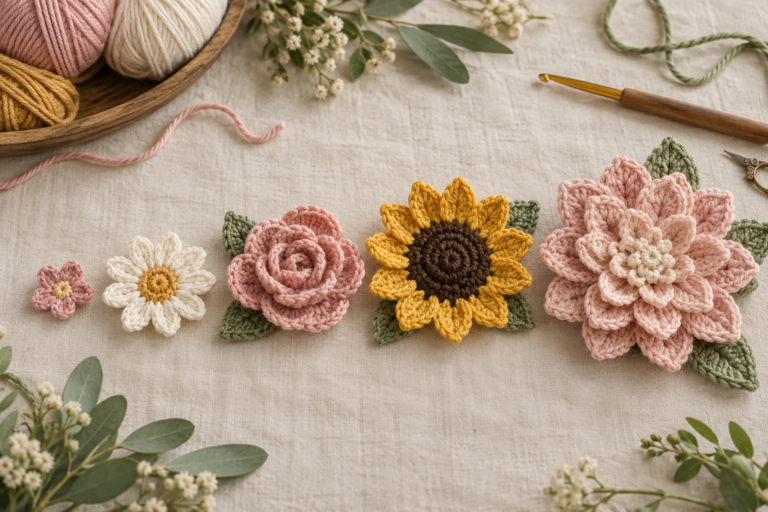
You do not need to use traditional sunflower colors. Once you understand how the different sections work together, you can experiment with dusty rose, terracotta, olive, cream or any palette that suits your project.
Materials and Tools
A sunflower granny square is a small project, which makes it a useful way to use yarn left over from other crochet projects. The most important thing is to use the same yarn weight throughout the square so the different rounds sit evenly together.
You will need:
- Yarn in four coordinating colors
- A crochet hook suitable for your chosen yarn
- Scissors
- A yarn or tapestry needle
- Stitch markers, if you find it helpful to mark the beginning of each round
- Blocking pins and a foam mat or blocking board for finishing
For a traditional sunflower look, choose dark brown for the center, golden yellow for the petals, a natural green for the shaping section and cream for the outer border.
DK or worsted-weight yarn can both work well. Cotton creates clear stitch definition and a firmer square, while acrylic is soft, widely available and often easier for beginners to handle.
Use the hook size recommended on your yarn label as a starting point. If your stitches feel stiff or the square begins curling inward, try moving up one hook size. If the fabric feels too loose and the shape lacks definition, try a slightly smaller hook.
Crochet Skills and Techniques to Know
You do not need advanced crochet experience, but it helps to be comfortable with a few basic techniques before beginning.
Working in the Round
The sunflower begins in the center and grows outward in joined rounds. Check the shape and count your stitches after completing each round so small mistakes do not continue into the petals and square section.
Magic Ring
A magic ring creates an adjustable center that can be pulled closed. If you do not like using a magic ring, you can begin with a short chain joined into a loop, depending on the construction shown in the tutorial.
Chain and Slip Stitch
Chain stitches create spaces and help move between sections. Slip stitches are commonly used to join the end of a round to its beginning.
Double Crochet
Double crochet stitches help build height quickly and are often used when shaping the outer section of a granny square.
Textured Petal Stitches
Sunflower petals are usually created with raised stitches, such as puff, bobble or cluster-style stitches. These stitches add texture and help the petals stand away from the flower center.
Changing Colors
Fasten off each color securely and join the next shade neatly. Leaving a long enough yarn tail will make it easier to weave in the ends later.
Shaping a Circle Into a Square
The flower begins as a circular motif. The outer rounds use groups of stitches with additional height and chain spaces at four points to create the corners of the square.
If any of these techniques are new to you, keep the supporting video nearby so you can see the stitch movement and placement while following the written explanation.
Before You Start
Choose four yarn colors in the same weight and place them in the order you will use them. Keeping the yarn weight consistent will help the center, petals and outer rounds sit evenly together.
Before beginning:
- Decide whether you will use a magic ring or a joined chain loop for the center.
- Mark the beginning of each round if you sometimes lose track of your starting point.
- Count repeated sections before changing colors.
- Keep your tension relaxed and consistent, especially when working textured petal stitches.
- Weave in the ends after each color section instead of leaving every tail until the end.
- Check that the motif lies reasonably flat before beginning the next stage.
How the Sunflower Granny Square Is Constructed
The motif develops from the center outward. Use the written explanation to understand the purpose of each stage, then consult the supporting video when you want to see the exact hand movement or stitch placement in action.
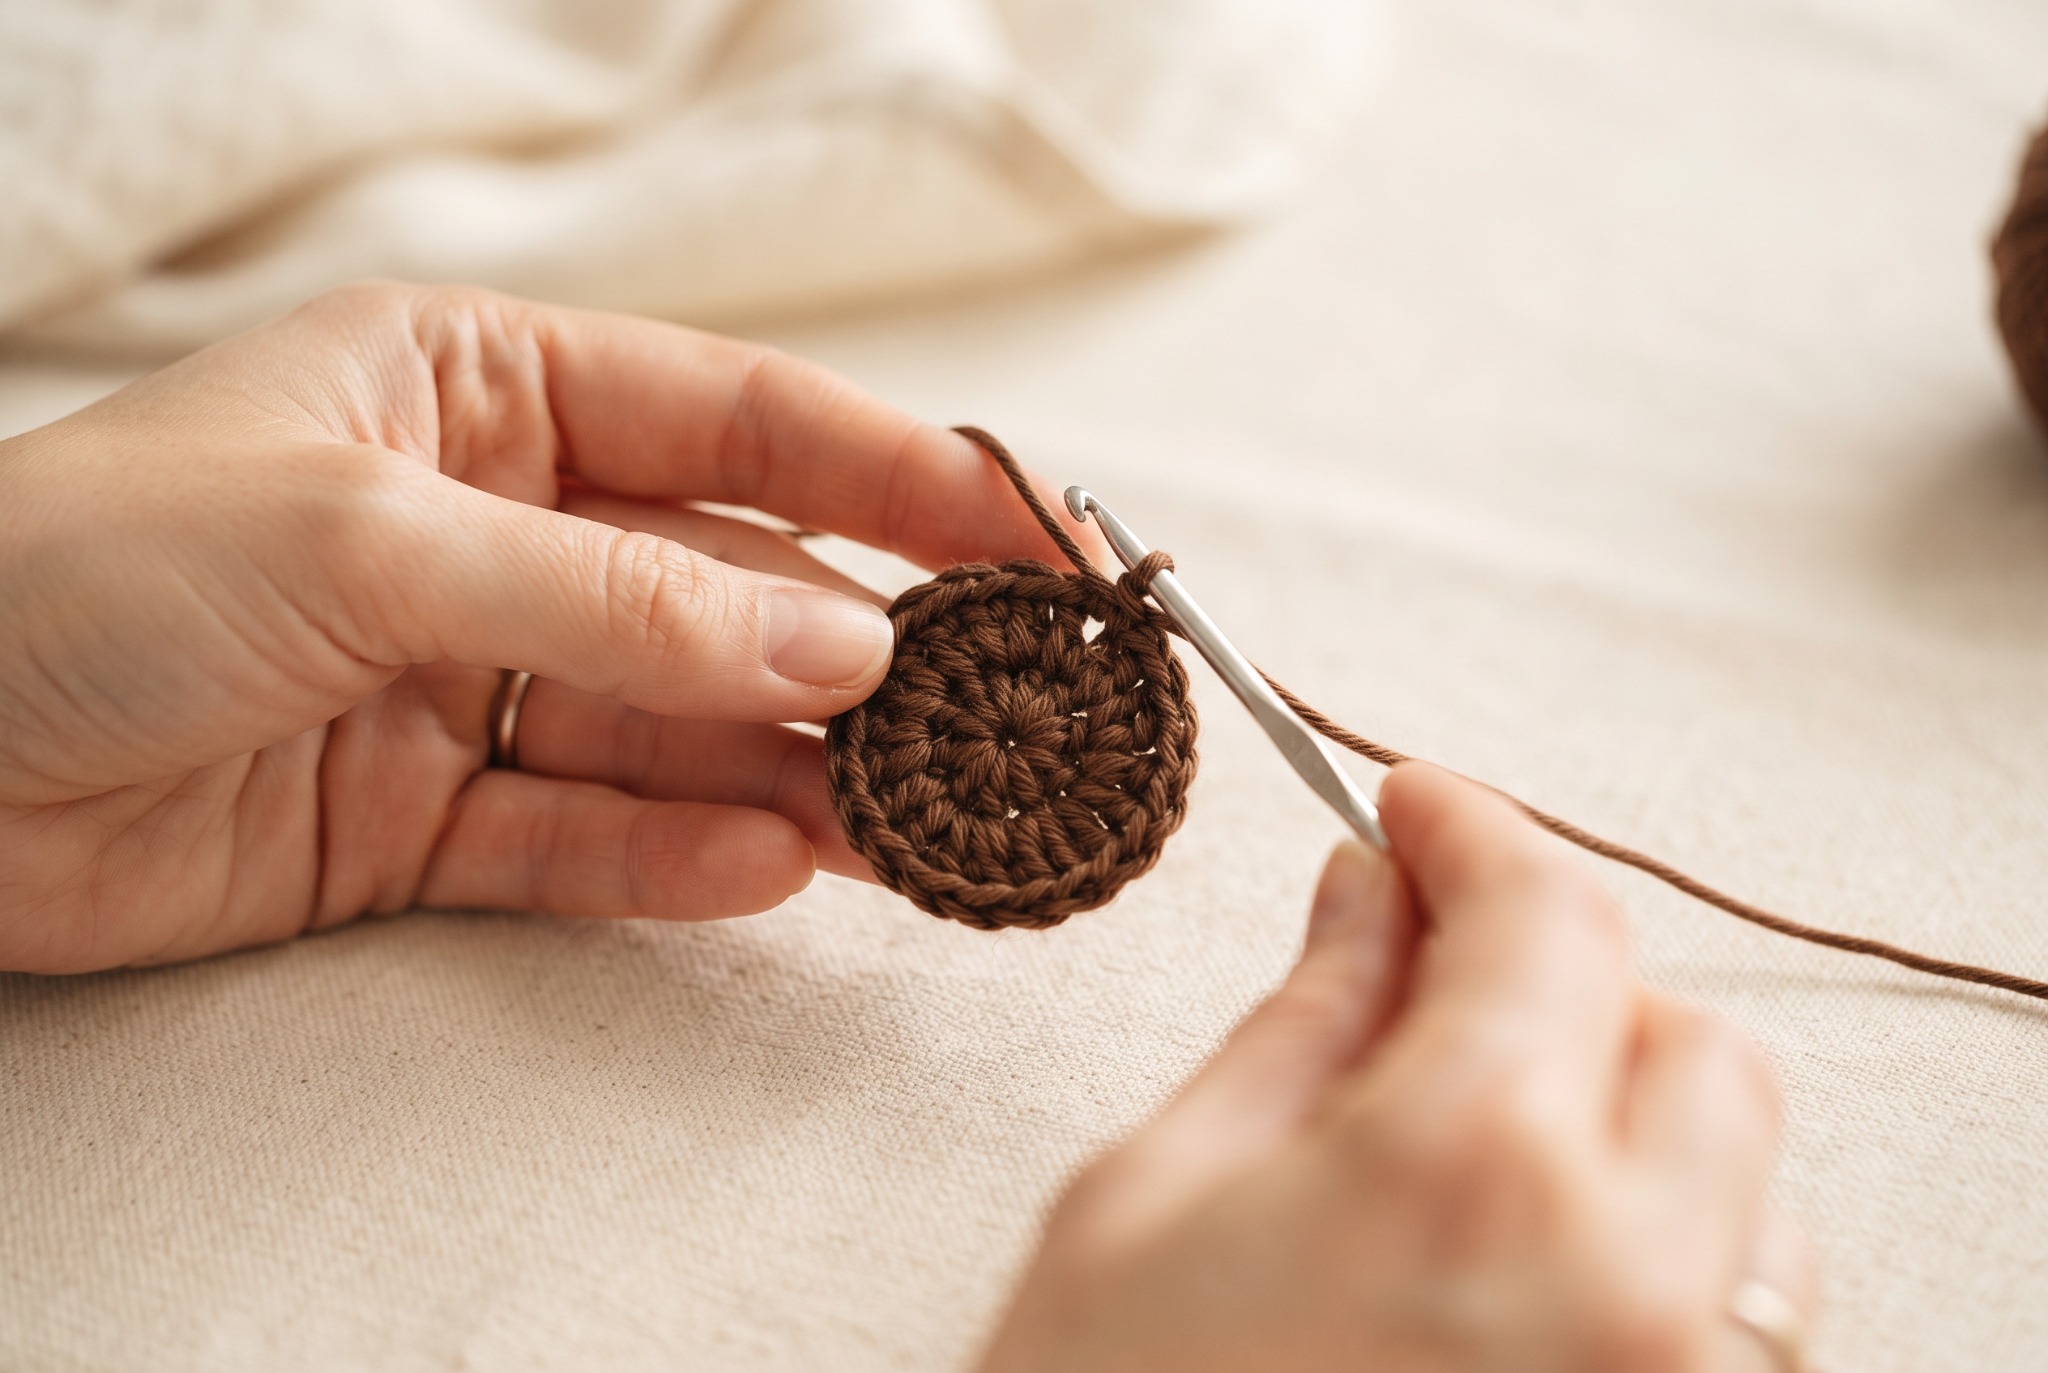
Stage 1: Crochet the Sunflower Center
Begin with dark brown yarn and create a small adjustable ring or joined chain loop.
Work the first stitches evenly around the center. The goal is to create a compact circular base without leaving a large opening in the middle.
Pull the center closed carefully and check that the stitches are distributed evenly. The circle should sit flat rather than forming a cup.
A neat center gives the petal round a stable foundation, so correct any missed or crowded stitches before fastening off the brown yarn.
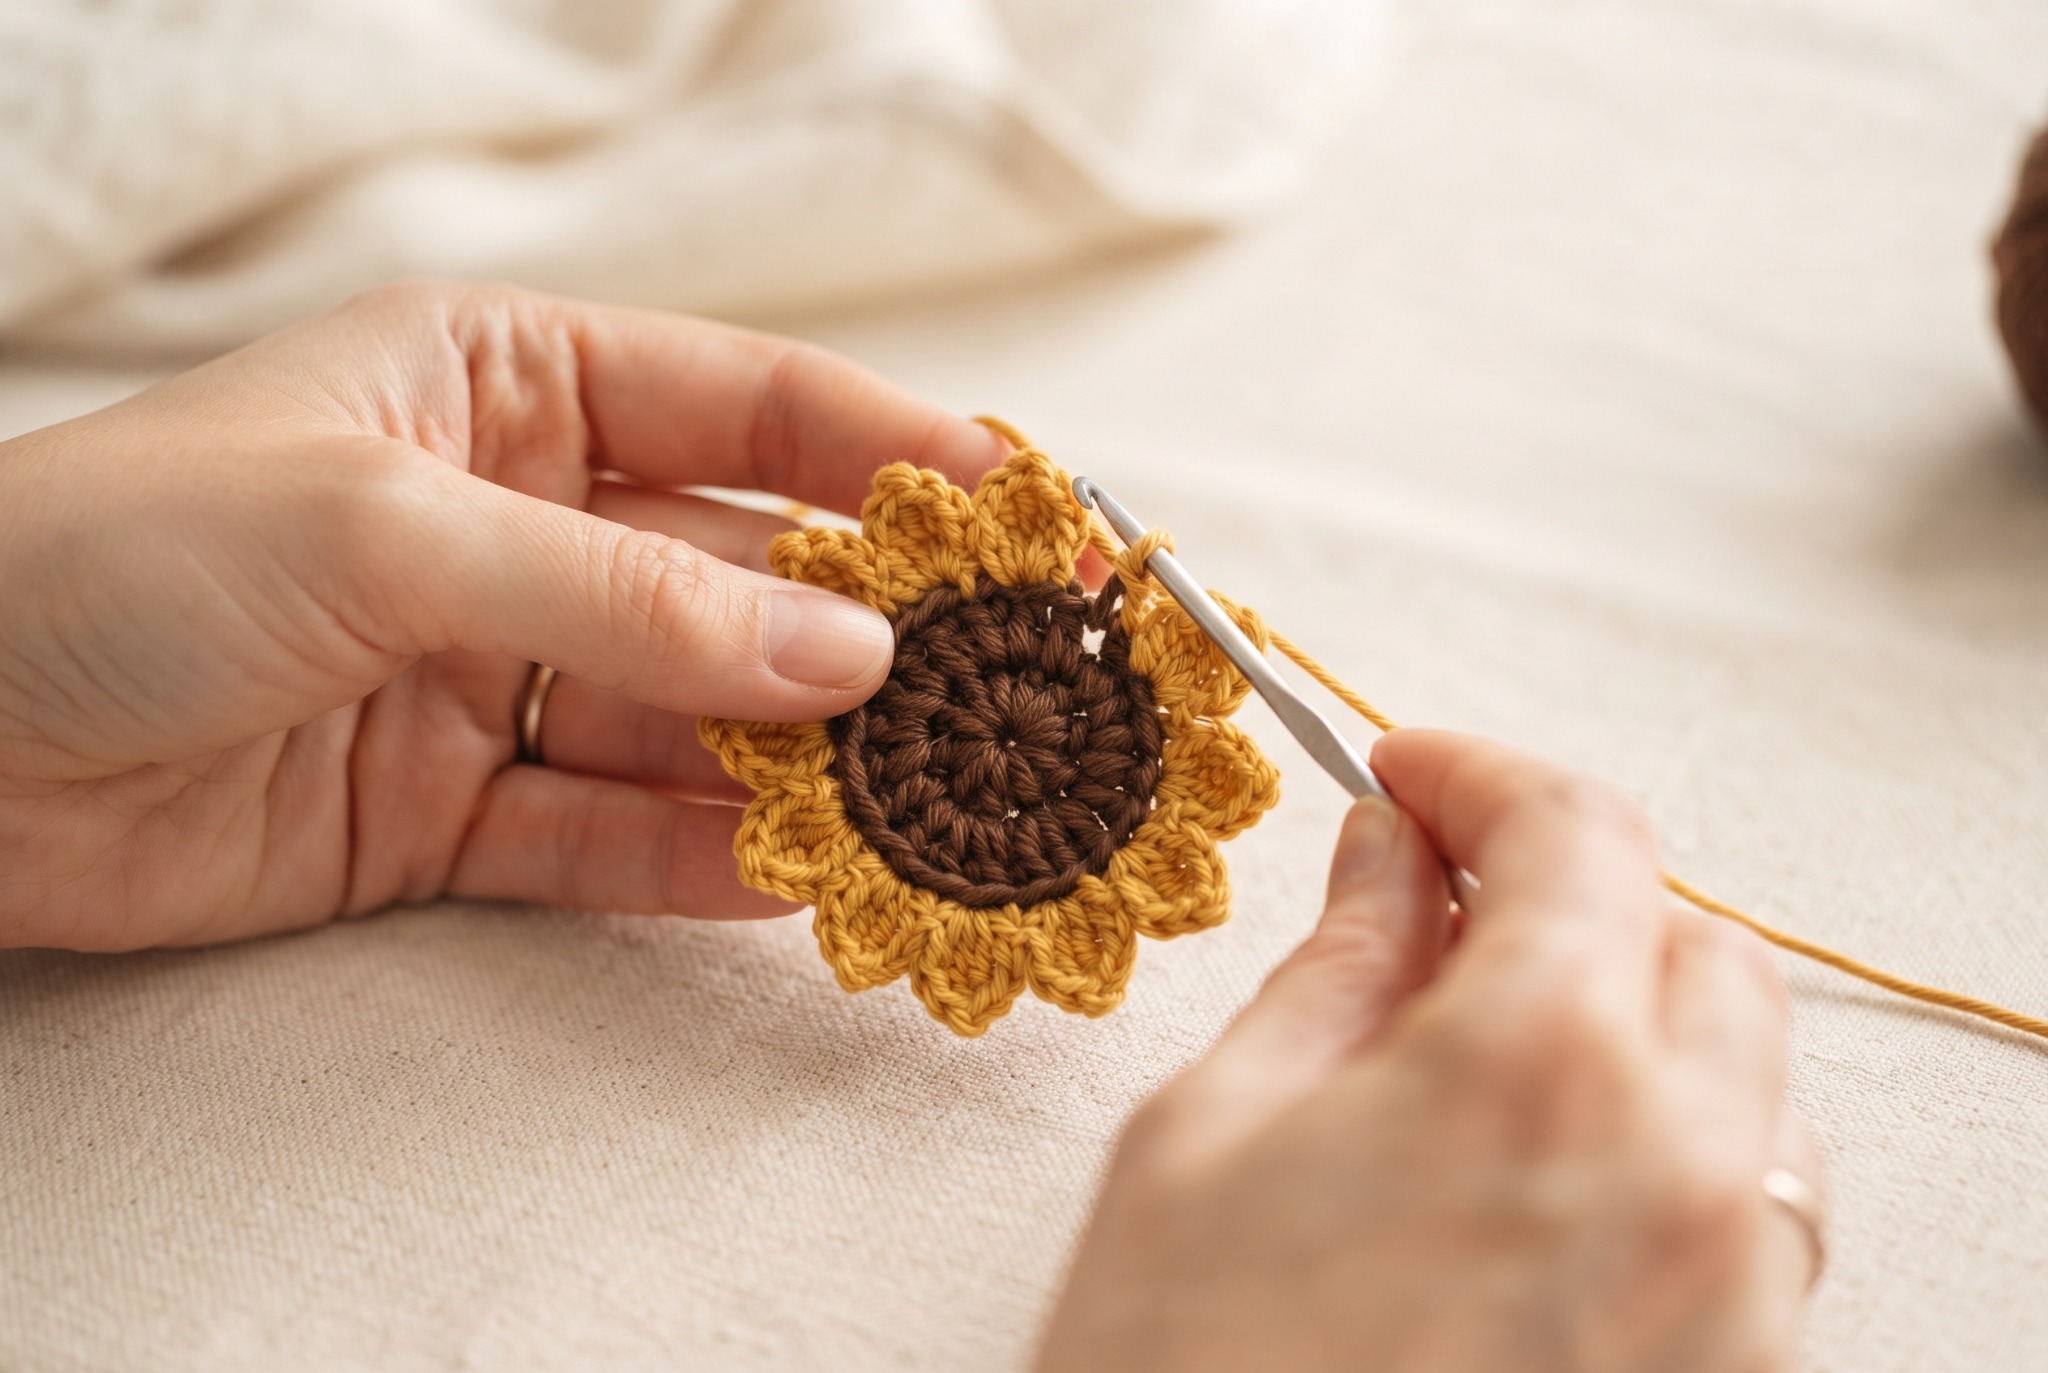
Stage 2: Build the Sunflower Petals
Join the golden-yellow yarn around the outside of the brown center.
The petals are created by repeating raised groups of stitches around the circle. Keep each repeated section similar in height so the flower remains balanced.
Work slowly during the first few petals. Once you understand where each group begins and ends, the rest of the round becomes easier to repeat.
Before joining the round, count the petals and check the spaces between them. An uneven petal count can affect the green shaping section that follows.
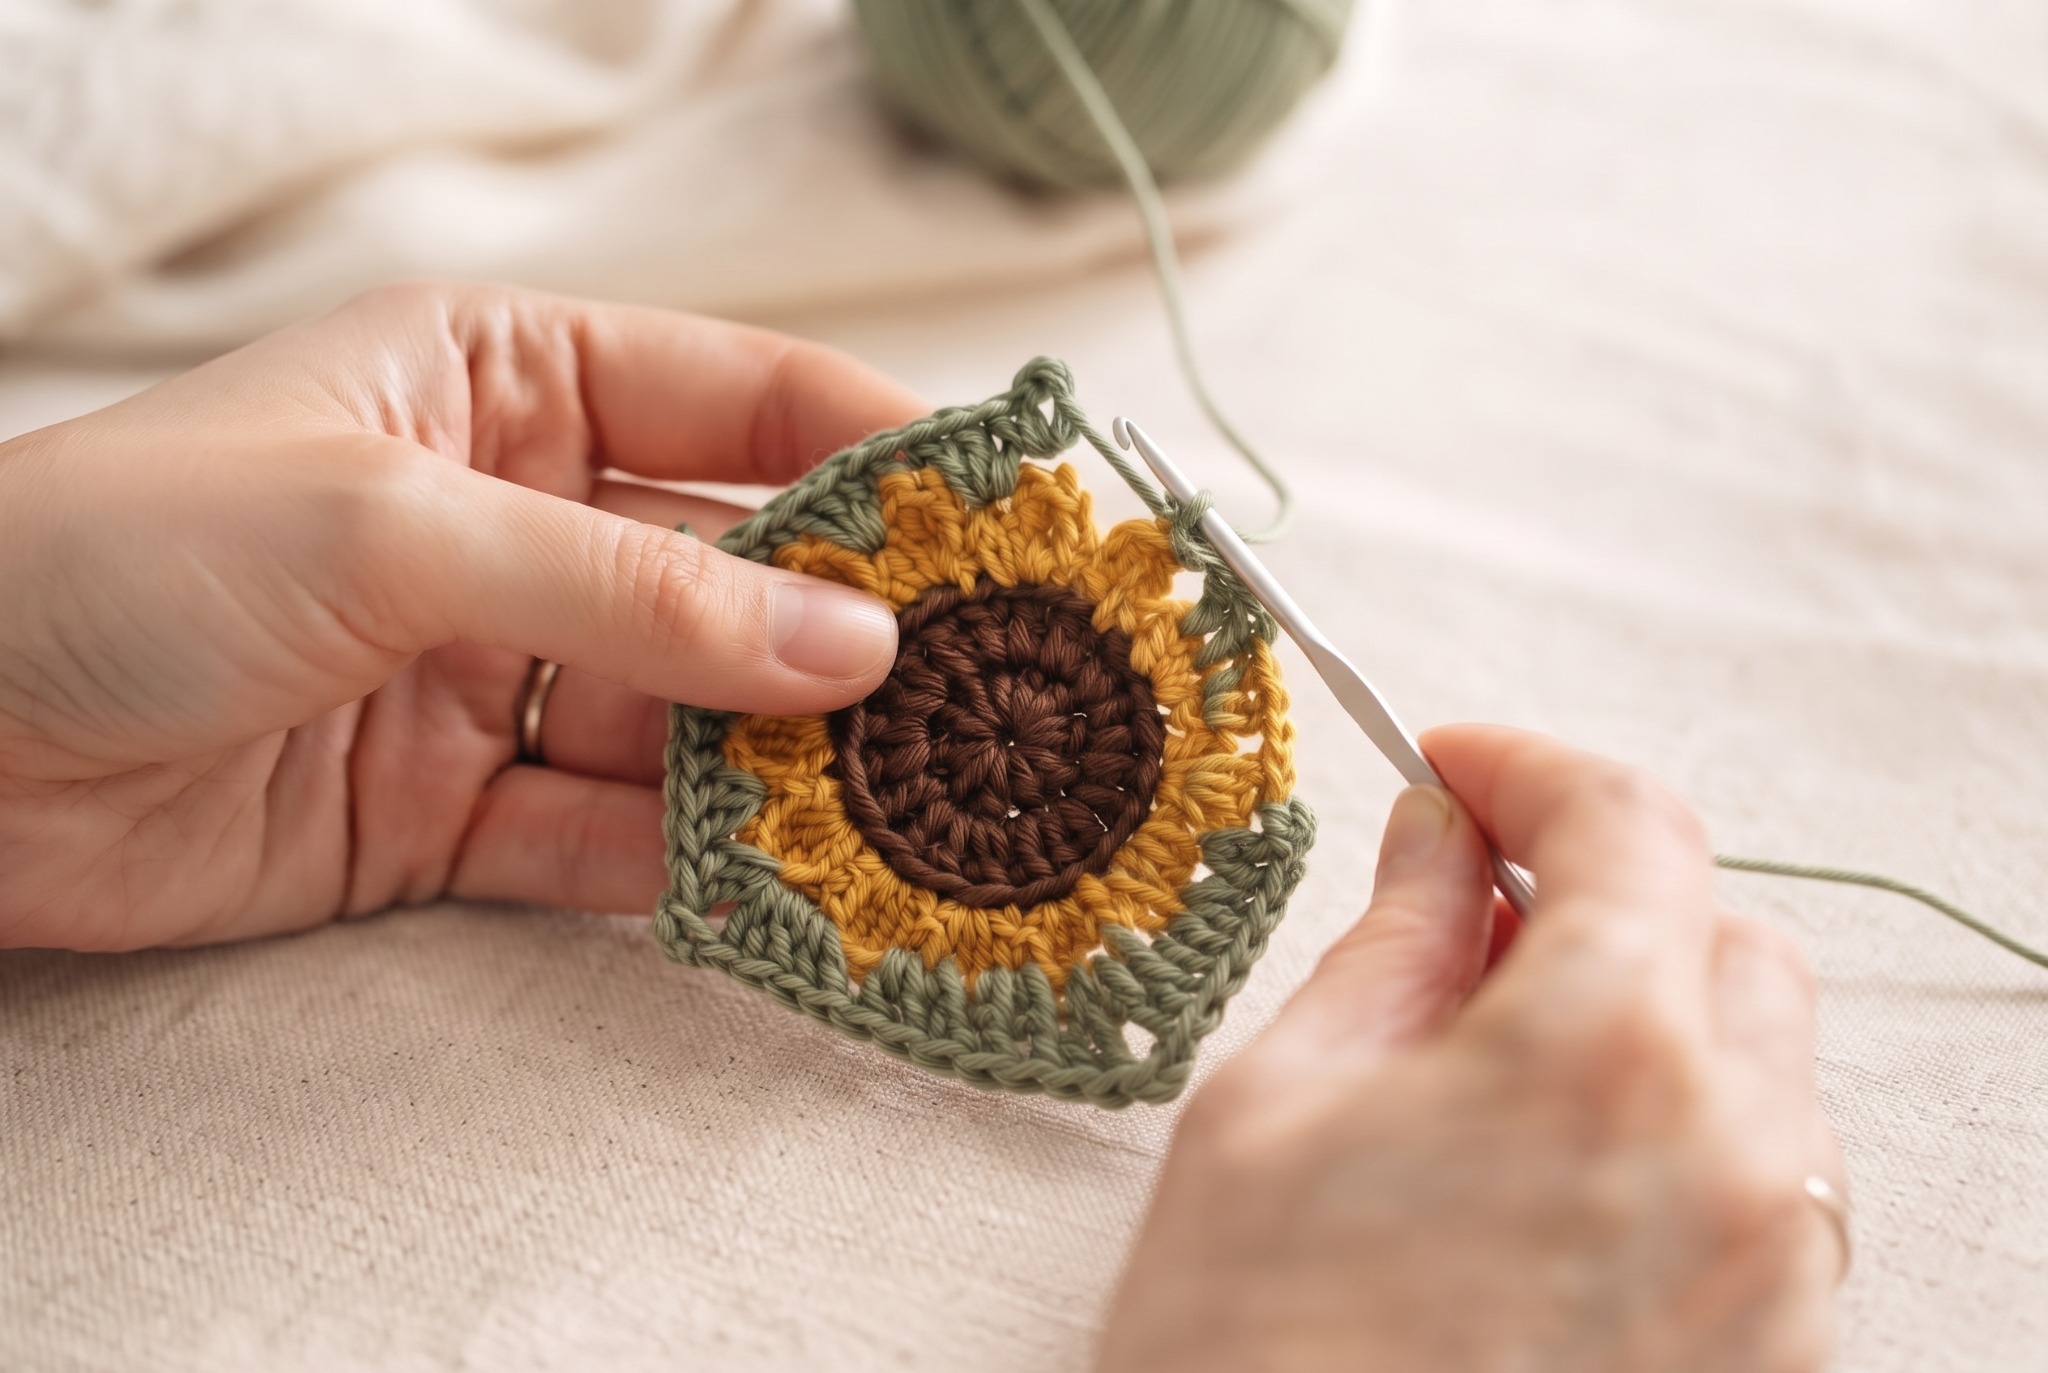
Stage 3: Shape the Green Outer Section
Join the green yarn in the space indicated by the tutorial.
This section begins changing the round flower into a square. Stitches of different heights are placed around the petals, while four stronger points begin forming the future corners.
Do not pull the green stitches too tightly around the flower. The petals need enough room to remain visible instead of becoming trapped beneath the shaping round.
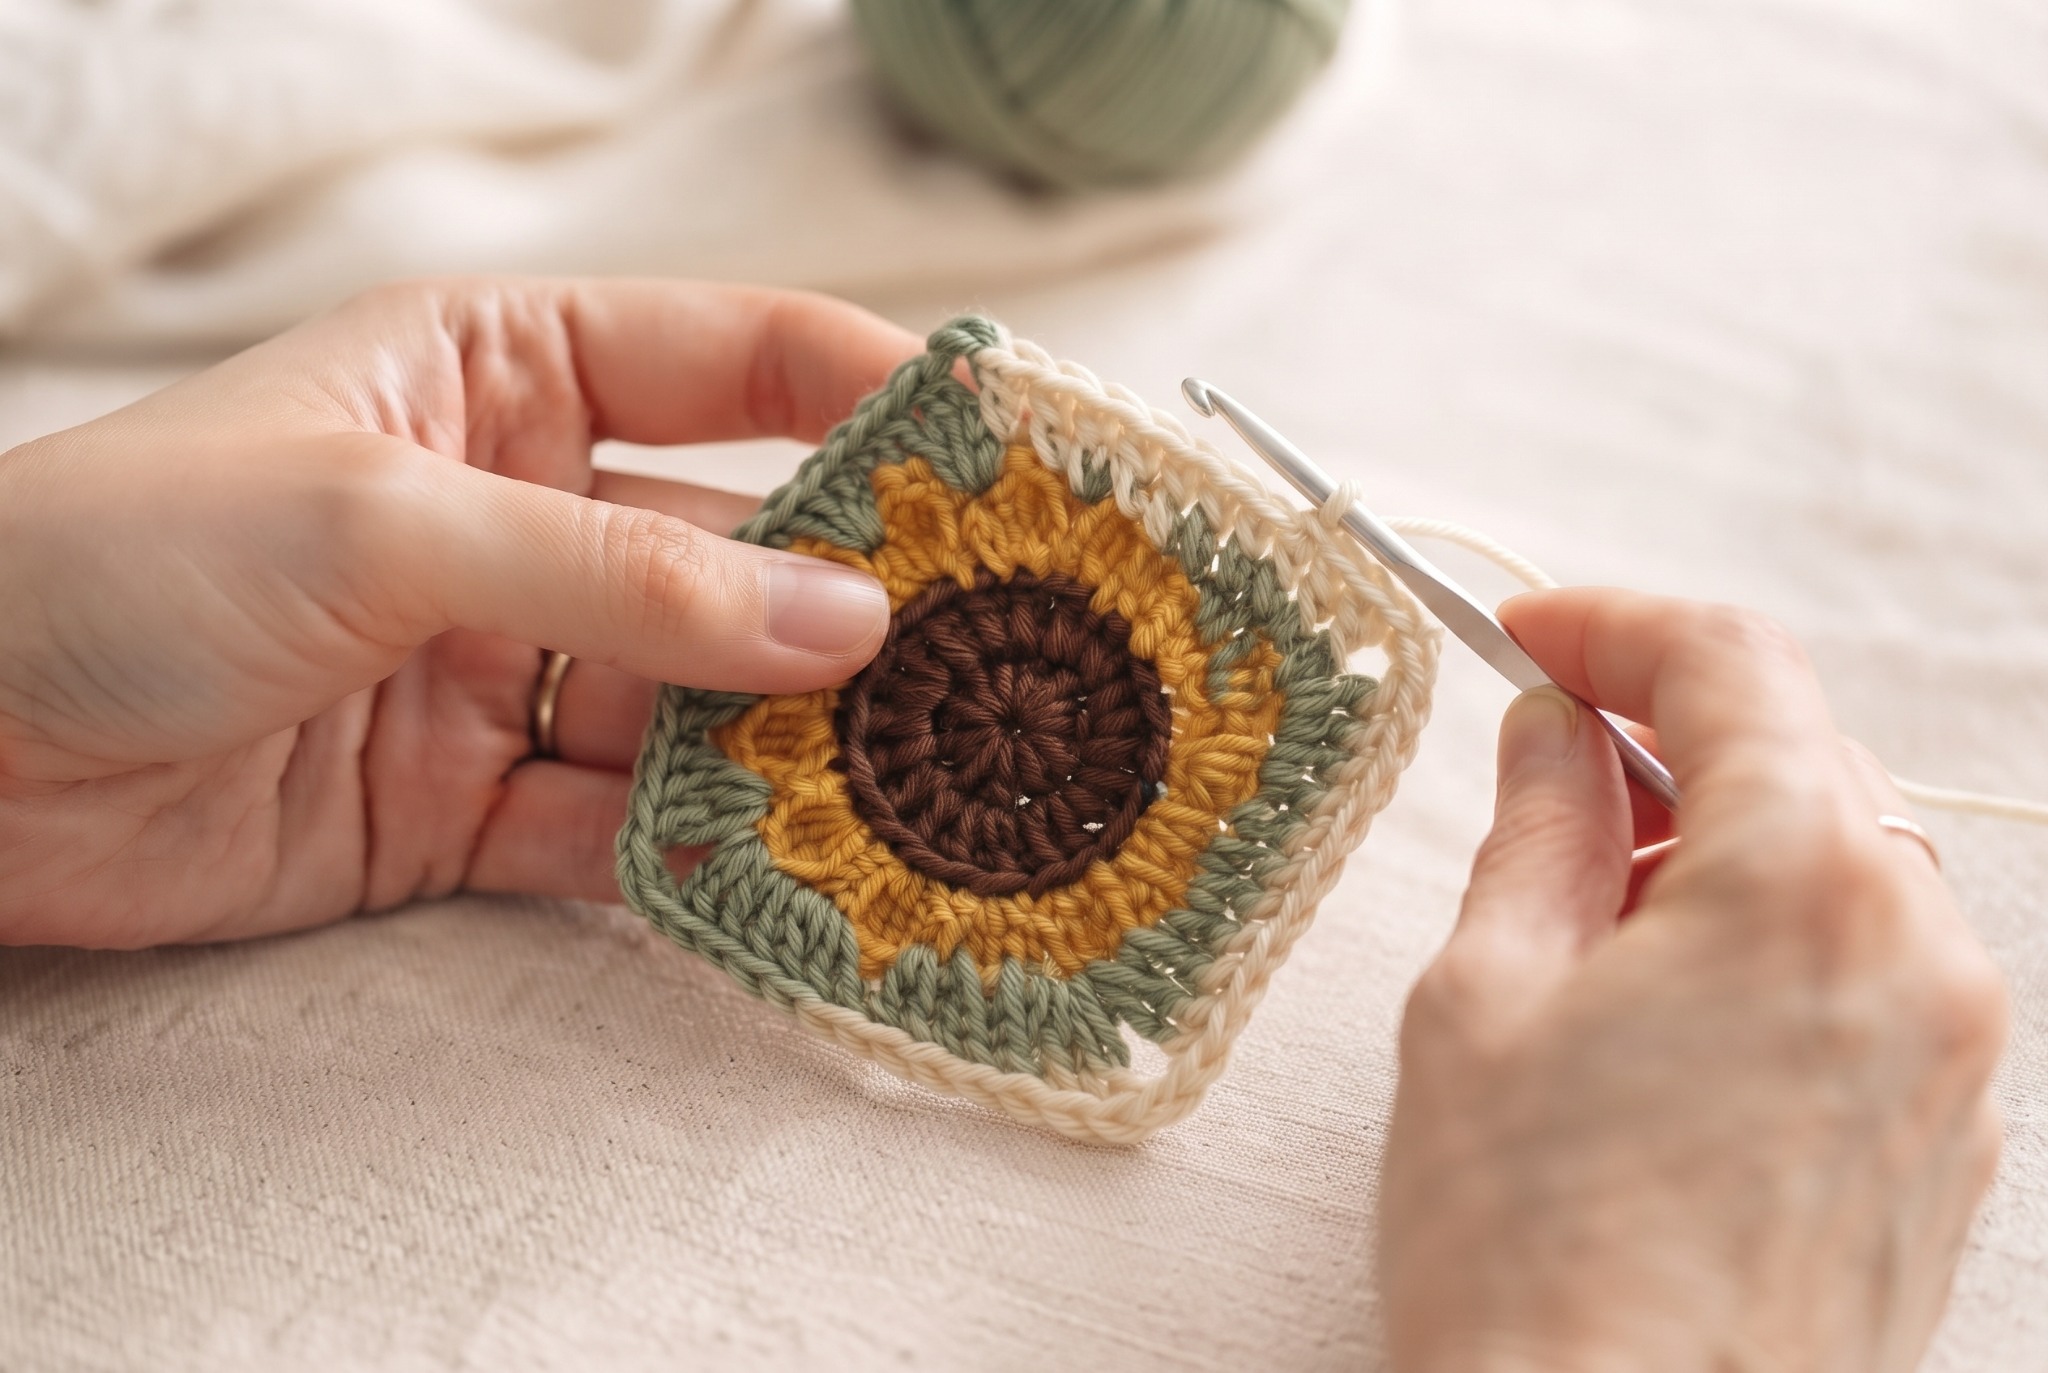
After completing the green section, gently spread the motif with your fingers. You should now be able to identify four sides and four developing corners.
Stage 4: Add the Cream Outer Border
Join the cream yarn and begin working around the green section.
The outer border strengthens the square shape and gives the motif a clean frame. Work evenly across each side and place the corner groups consistently so all four corners grow at the same rate.
Pause after completing the first side and compare it with the next. Consistent tension will help prevent one side from becoming longer or looser than the others.
Additional border rounds can make the square larger, but continue using the same corner structure so the motif remains flat.
Stage 5: Finish and Block the Square
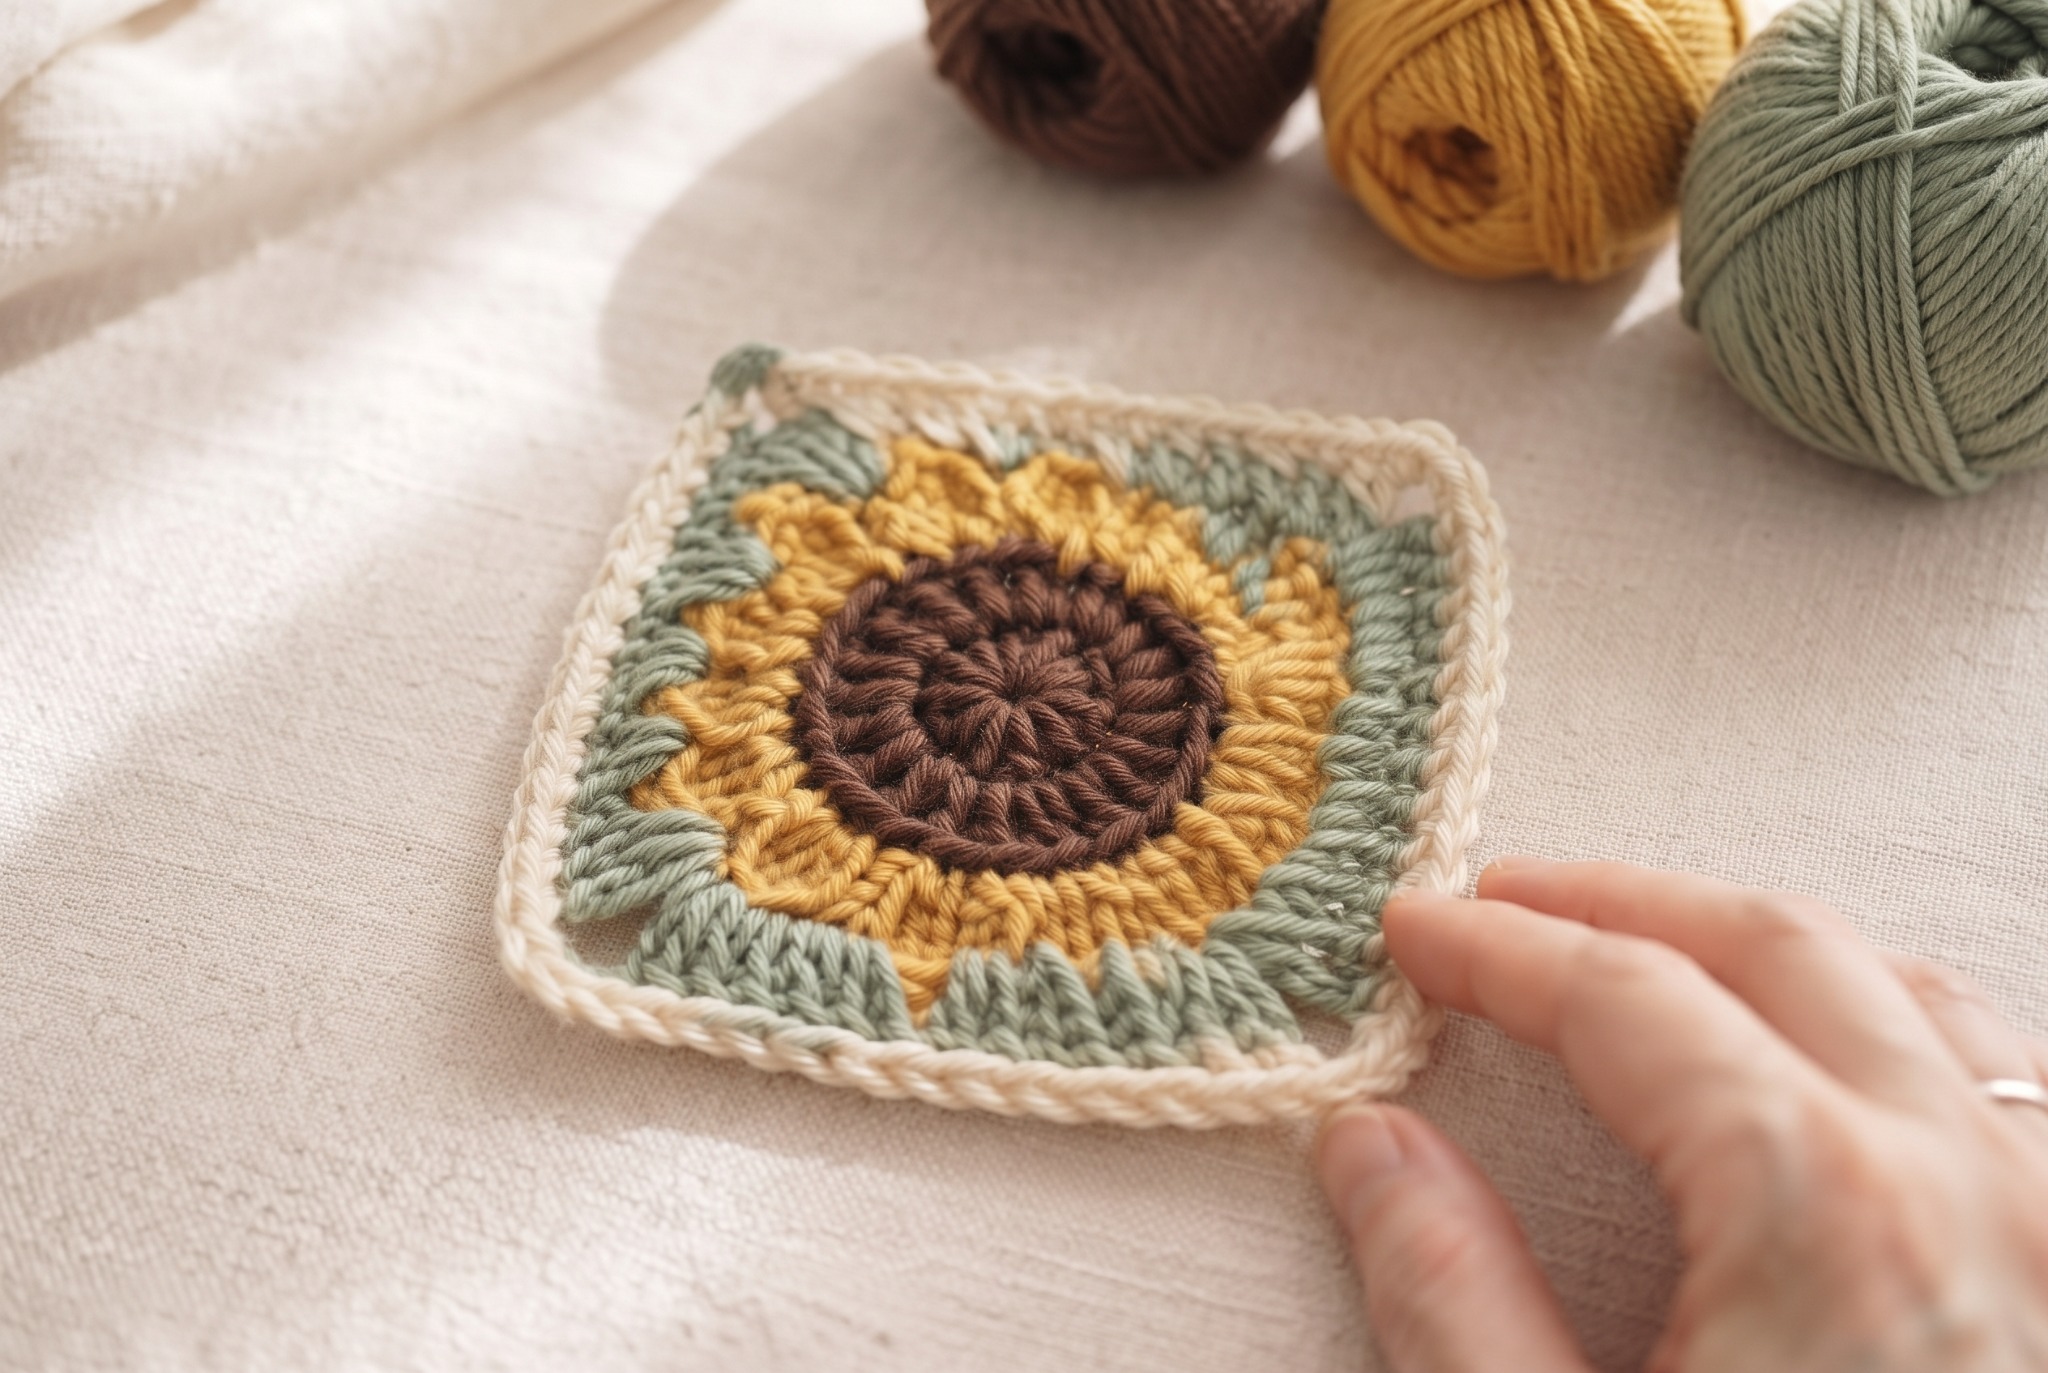
Fasten off the final yarn and weave each tail securely into stitches of the same color.
To improve the shape, lightly block the finished square:
- Dampen the square according to the care instructions for your yarn.
- Place it on a foam mat or blocking board.
- Pin the four corners into an even square.
- Add pins along the sides if needed.
- Allow it to dry completely before removing the pins.
Blocking helps even out the stitches, straighten the edges and make multiple sunflower granny squares easier to join in a larger project.
Helpful Sunflower Granny Square Video Tutorial
The written guide above explains how the sunflower motif develops and what to check during each stage. If you would also like to see the crochet movements and stitch placement in action, use the video tutorial below as a visual companion.
Video tutorial: How to Crochet Sunflower Granny Square
Creator: Chompu Handicrafts
Watch the complete video once before beginning. On your second viewing, pause after each color section and compare the shape of your work with the stage shown on screen.
The original crochet demonstration belongs to Chompu Handicrafts. This written guide provides additional preparation advice, construction explanations, troubleshooting help, color inspiration and project ideas.
Troubleshooting Common Sunflower Granny Square Problems
Why Is My Sunflower Center Not Closing?
If you are using a magic ring, hold the stitches gently while pulling the yarn tail a little at a time. Check that every first-round stitch was worked into the adjustable loop rather than around a nearby yarn strand. A tiny opening is usually acceptable as long as the center feels secure.
Why Do My Petals Look Uneven?
Uneven petals are often caused by inconsistent tension, a missed stitch group or two groups placed in the same space. Count the repeated sections before joining the round. If one petal is noticeably shorter, it is usually worth undoing that small section rather than trying to hide it later.
Why Is My Sunflower Granny Square Curling?
A slight curve may relax after blocking, but strong curling or cupping usually points to tight tension, a missed space or too little expansion in a round. Relax your grip, check the repeated sections and consider moving up one hook size. Correct severe curling before continuing.
Why Does the Green Section Still Look Round?
The four corners need consistent placement and enough height to change the silhouette. Identify the same four corner points around the flower and repeat the corner structure evenly. The corners should already be visible before you begin the outer border.
Why Are My Squares Different Sizes?
Small differences can come from changes in tension, yarn thickness, hook size or stitch count. Use the same yarn and hook for every square, count carefully and measure the motifs after blocking before you join them.
How Can I Make the Color Changes Look Cleaner?
Fasten off securely, join the next shade in a less noticeable area and avoid bulky knots. Weave each tail through stitches of the same color so it does not show through the front of the square.
Sunflower Granny Square Color Ideas
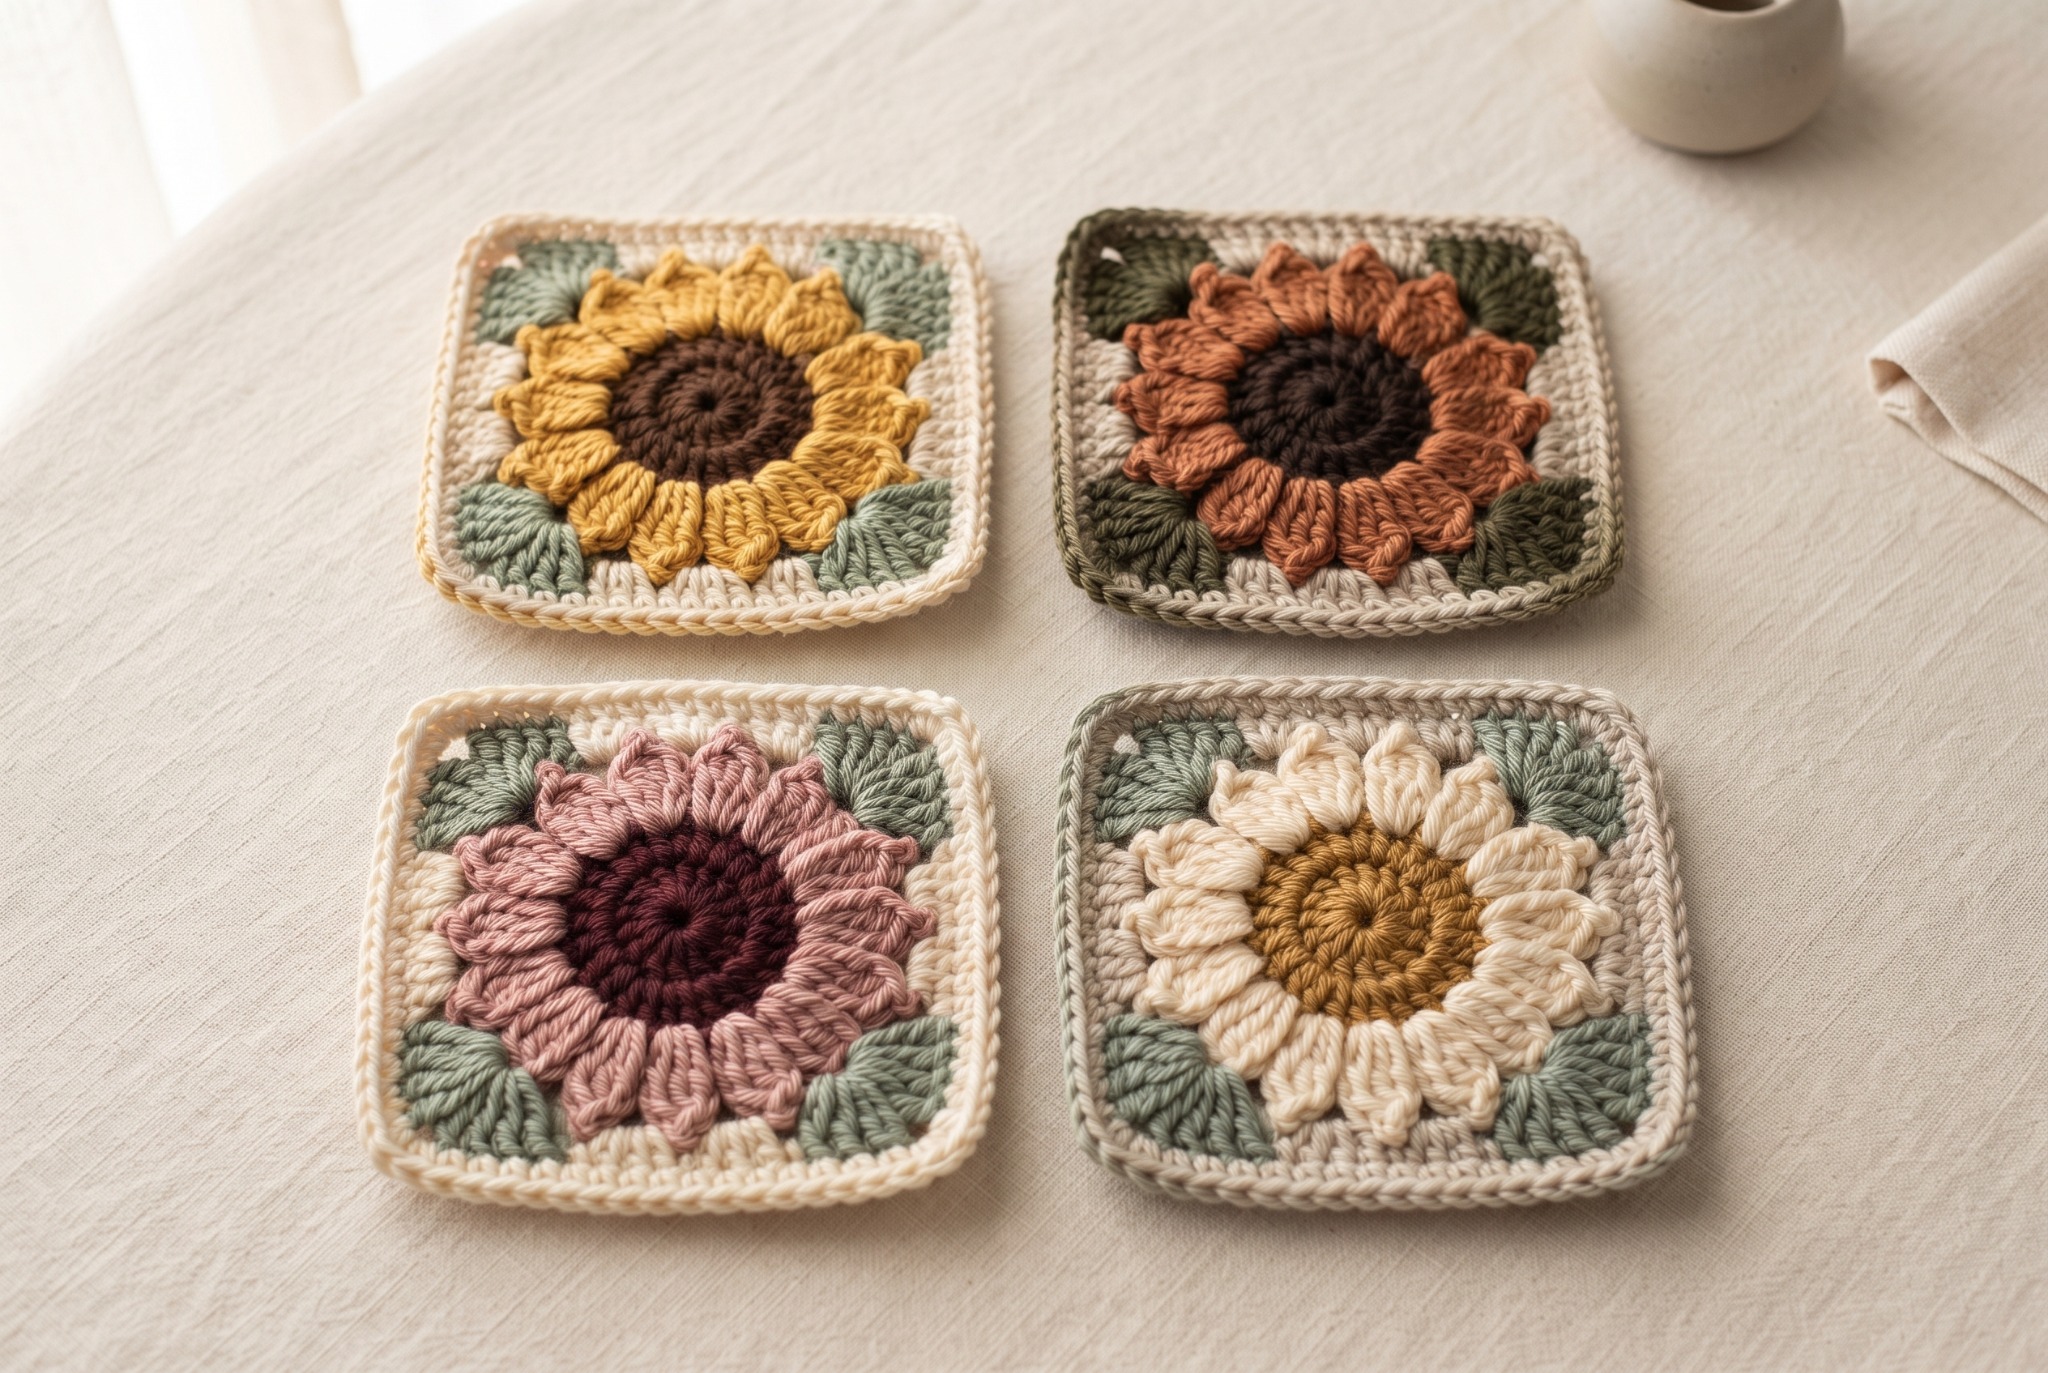
Traditional sunflower colors are easy to recognize, but the same construction can take on a completely different mood when you change the palette.
Classic Sunflower
Dark chocolate center, golden petals, leaf-green shaping and a warm cream border. This combination works especially well for bags, blankets and cozy home décor.
Autumn Sunflower
Deep brown center, terracotta or burnt-orange petals, olive-green shaping and an oatmeal or beige border. The palette feels warm, rustic and suited to autumn blankets or cushions.
Dusty Rose Flower
Burgundy or plum center, dusty-rose petals, sage-green shaping and a soft cream border. This creates a gentler, romantic version of the motif.
Neutral Cream and Sage
Warm brown center, cream or pale-beige petals, muted sage shaping and a natural-white border. The result feels modern and works well with understated interiors and accessories.
Make one sample square before buying yarn for a larger project. A completed motif gives you a more reliable view of the color balance than the yarn balls alone.
What Can You Make With Sunflower Granny Squares?
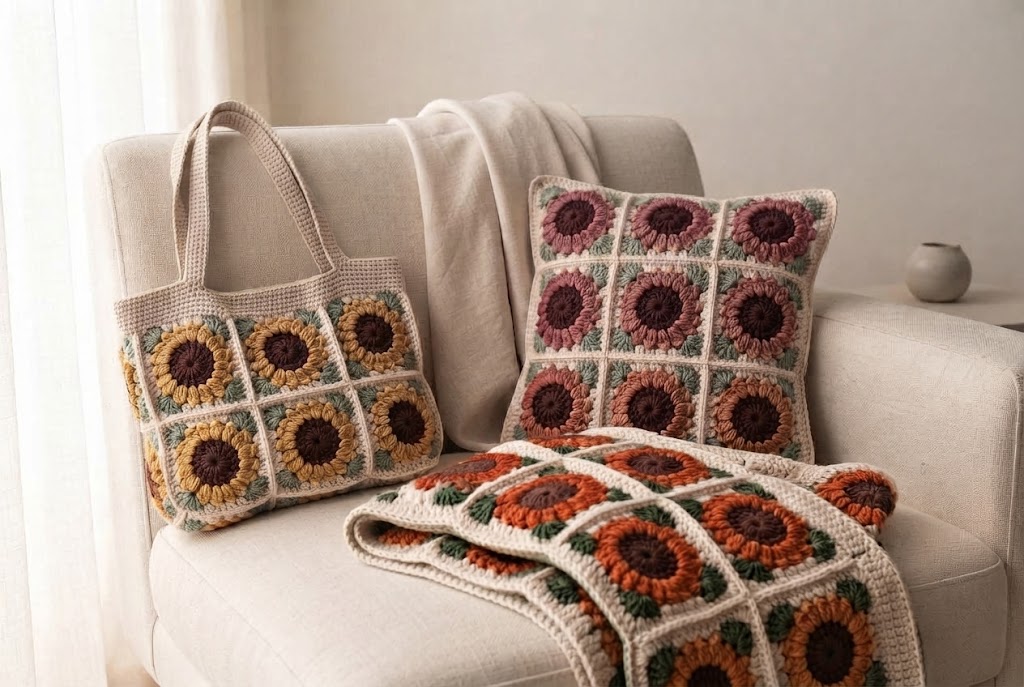
Use one square as a decorative detail or combine many motifs into a larger handmade project. Choosing the final project before making a large batch will help you plan the yarn, quantity and finished size more accurately.
Sunflower Granny Square Tote Bag
Use the motifs as the visible front and back panels of a tote. You can repeat the same colors on both sides or combine flower squares with simpler solid squares.
Sunflower Granny Square Blanket
Repeat the motif across a full blanket and keep the outer border or joining color consistent so the individual flowers feel connected. Block the squares before arranging the final layout.
Crochet Cushion Cover
Four larger squares or nine smaller squares can create a decorative cushion front. Pair the floral panel with a solid crochet or fabric back.
Granny Square Cardigan
Sunflower motifs can create a striking wearable piece, although a cardigan requires careful measurements, consistent square sizing and thoughtful placement.
Smaller Crochet Projects
- A small wall hanging
- A potholder made with heat-safe cotton yarn
- A zippered or buttoned pouch
- A book or tablet sleeve
- A decorative pocket
- A table mat or centerpiece
Frequently Asked Questions
Is a Sunflower Granny Square Beginner-Friendly?
It can suit an adventurous beginner who already knows the basic stitches and has practiced working in the round. The textured petals and the transition from a circle to a square require attention, so work slowly and count each repeated section.
What Is the Difference Between a Sunflower and a Sunburst Granny Square?
The names are sometimes used for similar motifs. “Sunburst” often describes the textured construction, while a brown, yellow and green version is commonly called a sunflower granny square. Not every design uses the same stitch sequence.
What Yarn Is Best?
Cotton and acrylic are both useful choices. Cotton gives clear stitch definition and a firmer fabric for bags, mats and cushions. Acrylic is soft, affordable and available in many colors, which makes it popular for blankets and beginner projects. Keep the yarn weight consistent throughout the motif.
What Crochet Hook Size Should I Use?
Start with the hook size recommended on the yarn label. Move up a size if the fabric feels stiff or curls strongly, or try a smaller hook if the stitches are too loose and the shape lacks definition.
Why Is My Square Curling?
Common causes include tight tension, missed spaces, uneven expansion or a hook that is too small. Mild curvature may improve after blocking, but severe curling should be corrected before you continue.
Do I Need to Block the Finished Square?
Blocking is strongly recommended when you plan to join multiple motifs. It straightens the edges, sharpens the corners and helps the squares reach a more consistent size.
Can I Make the Square Larger?
Yes. Add more border rounds while keeping the corner structure consistent. Lay the motif flat after each additional round to make sure the sides and corners are expanding evenly.
Are the Images a Written Crochet Pattern?
No. The images illustrate the visual stages, color palettes and project possibilities. They are not stitch charts. Use the written explanations to understand the construction and the supporting video for exact stitch placement and hand movement.
Final Thoughts
A crochet sunflower granny square is a small project with many possibilities. The motif develops in a clear sequence: center, petals, shaped corners and outer border. Start with the classic sunflower palette or experiment with softer neutrals, autumn shades or dusty florals.
Once your first square is complete, use it on its own or repeat the motif for a bag, cushion, blanket or wearable project. Save this guide to Pinterest so you can return to the construction tips and color ideas when you are ready to begin.
Learning to follow crochet diagrams? Our guide to crochet chart symbols and US abbreviations explains how to read rows, rounds, and repeats. You can also explore our crochet tutorials for more learning resources.
Patterned Memories