How to Crochet an Adjustable Bandana: Beginner Step-by-Step Guide
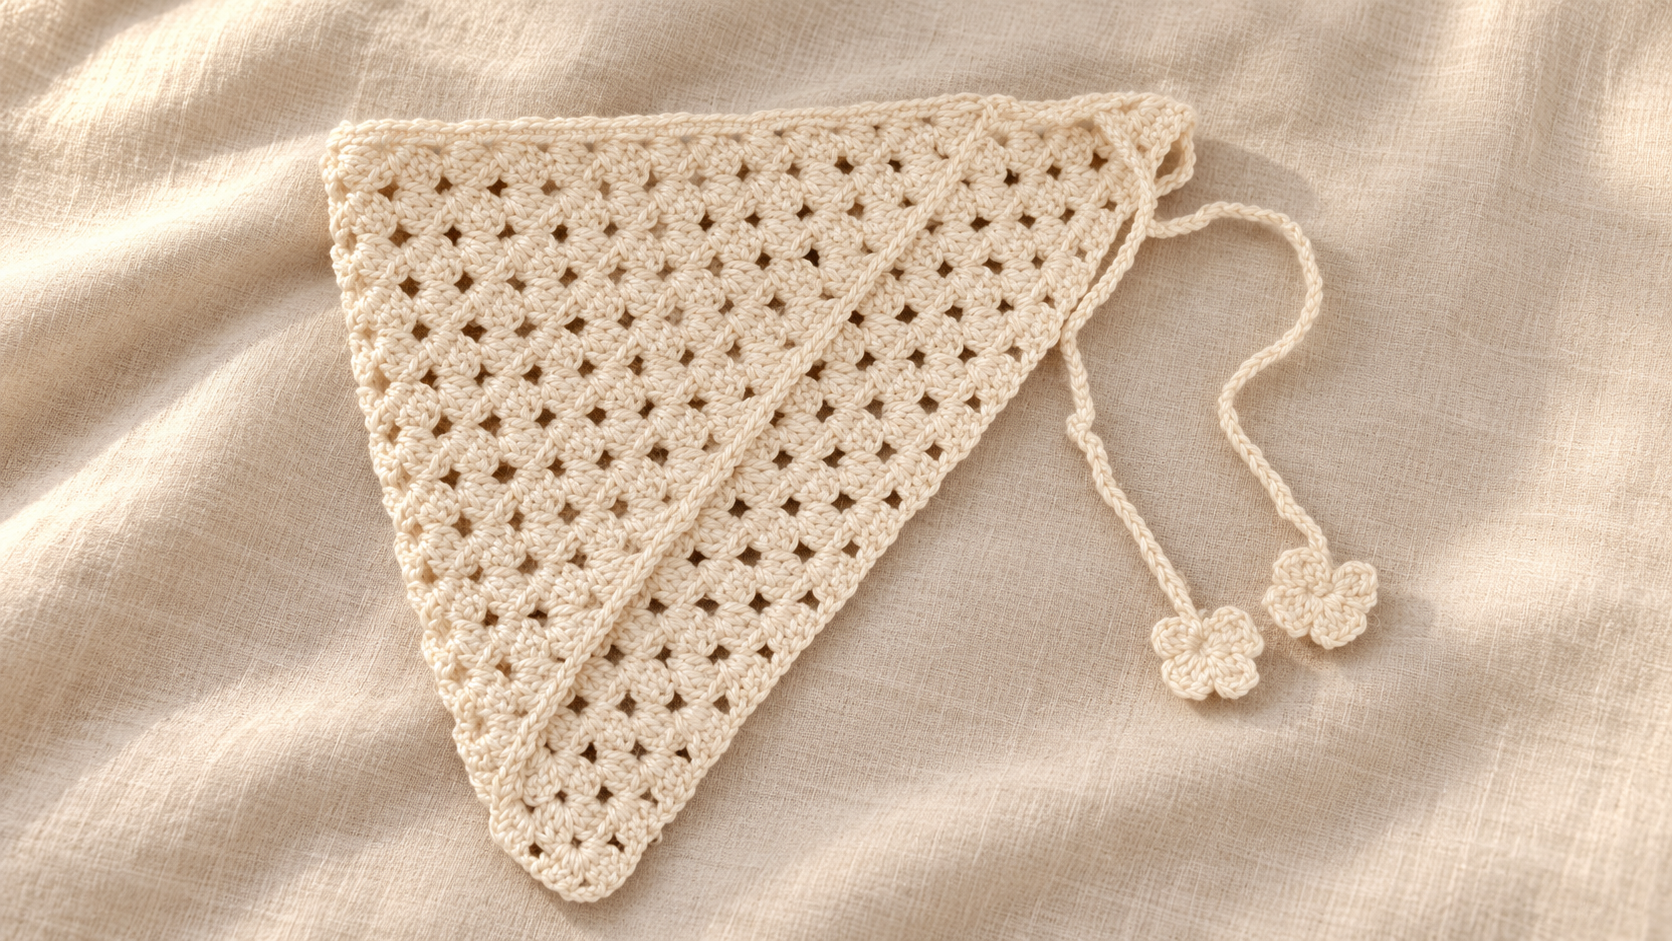
Learning how to crochet an adjustable bandana is easier when you understand the three details that control the fit: the yarn, the triangle depth and the length of the ties. A bandana may look simple on the table, but small choices can change how comfortably it sits and whether the lace pattern opens beautifully.
This beginner guide uses real frames from the crochet process to show how the project develops from a small foundation into a wearable triangle. The focus is on construction, fit and finishing, so you can apply the same ideas to many crochet bandana patterns.
What makes a crochet bandana adjustable?
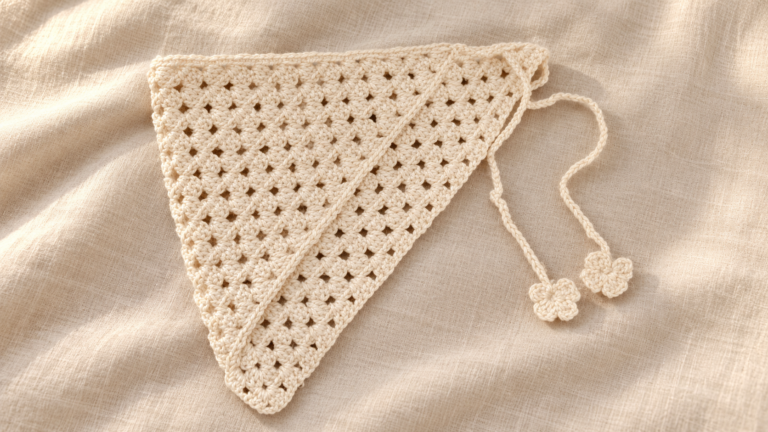
An adjustable crochet bandana is worked so you can stop the main triangle when it reaches the width and depth you need. Instead of depending on one fixed stitch count, you repeat the increase section until the piece fits the intended wearer. The border and ties are then added to secure it comfortably.
Choose yarn with softness and drape
The best yarn for a lace bandana feels smooth against the hair and forehead. Cotton and cotton blends feel cool and show the stitches clearly. Soft acrylic is easy to care for, while bamboo blends add fluid drape and a subtle sheen.
Avoid very fuzzy yarn for your first version because it can hide the lace openings and make stitch counting difficult. Make a small swatch and check that the fabric feels comfortable against the skin.
Match the hook to the fabric you want
The number printed on a yarn label is a useful starting point, but the finished fabric matters more than the number itself. If the lace feels stiff, try a slightly larger hook. If the openings look loose or the edges feel unstable, try a smaller hook.
For the sample shown here, a 4 mm crochet hook creates an open but stable fabric. Your ideal hook may change if you substitute yarn or crochet more tightly or loosely.
Beginner roadmap: crochet the bandana step by step
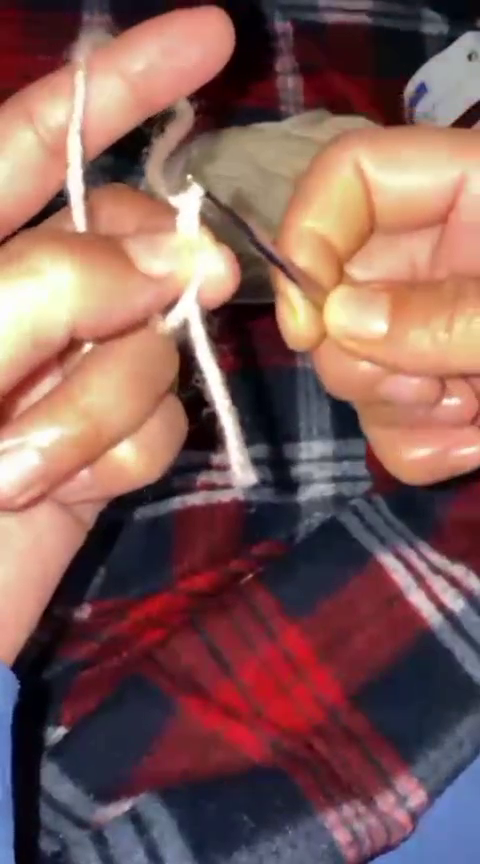
Step 1: Make a relaxed foundation
Begin with relaxed tension so the lower point can open naturally. A tight foundation may pull the first rows inward and cause the point to curl. Keep the working loop large enough for the hook to move without forcing it.
Step 2: Build the first triangle rows
The first rows establish the shape of the entire bandana. Identify the two outer edges and the center increase space. Place a stitch marker in the center if the opening is difficult to see.
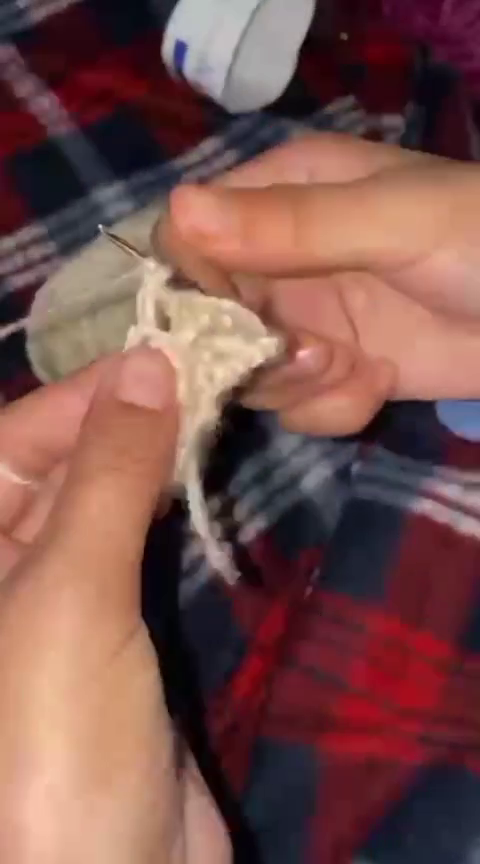
Step 3: Repeat the lace increase row
As the triangle grows, repeat the same increase logic at both sides and around the center. Count the stitch groups after every row. If both sides contain the same number of groups, the center point should remain balanced.
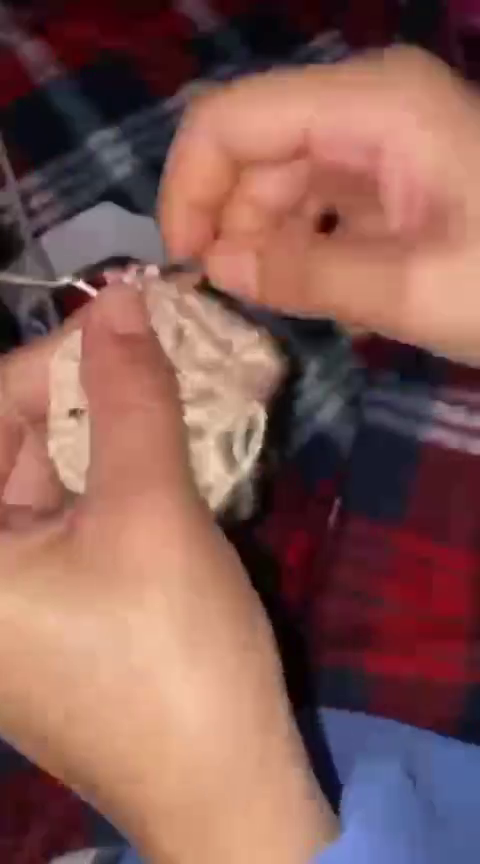
Step 4: Stop when the triangle reaches the right size
Lay the bandana flat without stretching it. Measure the top edge from corner to corner, then measure from the middle of that edge to the lower point. The first measurement controls the width across the head; the second controls the amount of coverage.
- Rest the fabric for a few minutes so it relaxes.
- Measure the width and depth on a flat surface.
- Try it gently against the intended wearer when possible.
- Add another repeat only if more coverage is needed.
- Remember that the top border may add a small amount to the final size.
Step 5: Crochet matching ties
Work both ties with the same stitch count and tension. They should be long enough to knot comfortably without pulling the top edge. Check the length before adding decorative ends.
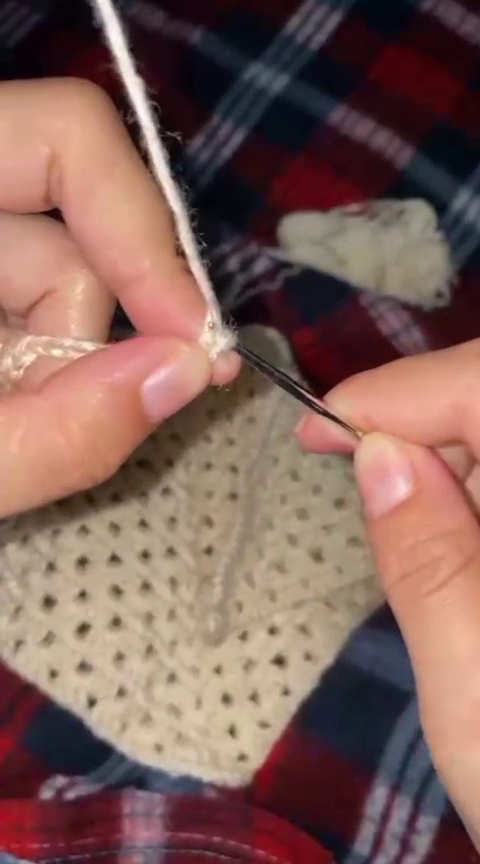
Step 6: Add the flower ends
Small flowers give the ties a finished look and a little weight, helping them hang neatly. Keep the flower stitches even and weave the yarn tail back through several stitches so the decoration remains secure.
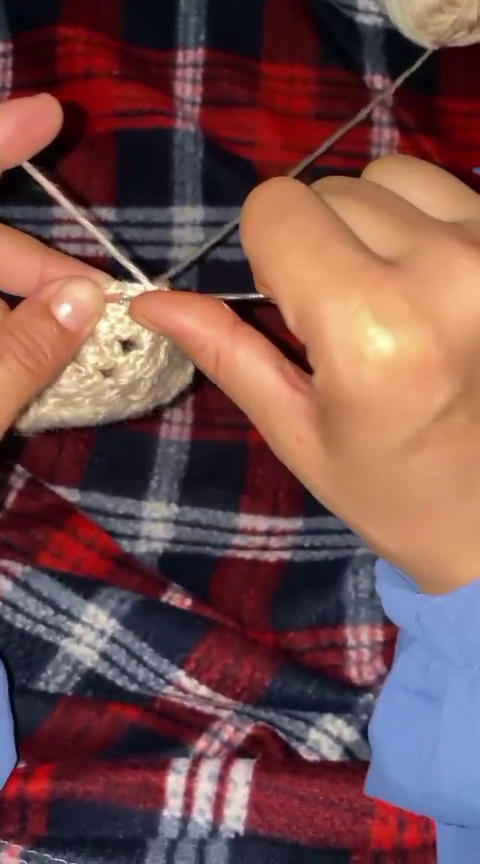
Check the finished shape
Place the finished bandana flat and check that the top border is straight, the center point sits in the middle and both ties have the same length. Small differences can usually be corrected during blocking.
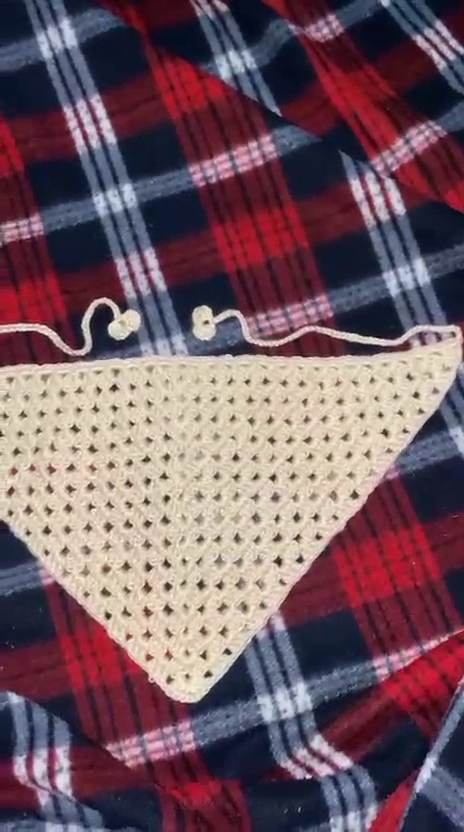
Blocking and finishing
Light blocking helps the lace openings settle and gives the triangle a cleaner outline. Follow the care instructions for your yarn: natural fibers can usually be wet blocked, while many acrylic yarns respond better to gentle shaping. Avoid excessive heat.
- Weave in every yarn end securely.
- Shape the triangle symmetrically.
- Straighten the top border without overstretching it.
- Arrange both ties to the same length.
- Let the bandana dry completely before wearing it.
Common fit problems and simple fixes
The bandana feels too small
Add another repeat before working the top border. Longer ties may improve comfort, but they will not add coverage to the triangle.
The bandana slides backward
Check that the top edge is not too loose. Tie it securely at the base of the head and choose yarn with enough texture to grip gently.
The point curls
Curling often improves after blocking. Also check that the first rows were worked with relaxed, even tension.
The two sides look uneven
Count the stitch groups on both sides of the center. Correct the first row where the counts differ instead of trying to hide the imbalance in the border.
Before-you-finish checklist
- Both sides contain the same number of stitch groups.
- The center point sits directly below the middle of the top edge.
- The width and depth give the coverage you want.
- Both ties feel comfortable when knotted.
- Every yarn tail is woven in securely.
- The fabric has been gently shaped without overstretching.
A relaxing project with room to personalize
An adjustable lace bandana is a satisfying small project because the construction is easy to personalize. Change the color, add contrasting flowers or work fewer repeats for a lighter headscarf. Once you understand where the triangle grows, you can focus on the rhythm of the stitches and the finishing details.
If you would like to see these ideas applied to one finished project, the Bloom-Tie Lace Bandana shows an adjustable triangle, a neat top border and flower-tipped ties in the same design.